Presenting another art guide to celebrate this seventh week of Hurm.com's 10 Year anniversary! In the background of the Local Heroes website, I use a dot pattern I created in Adobe Photoshop that simulates how a gradient would appear when printed. In this guide, I'll explain how I created that effect.
I'll recreate this effect in a small block, but you could do the same trick for any size or shape.
- Create a new, blank Photoshop document. Make sure the color mode is "RGB" (Mode > RGB). For no reason except to help the test image to stand out, I'm going to give my background a light color.

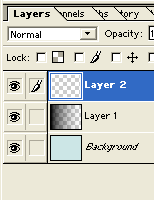
- Create a new layer called Layer 1. Select that layer.
- Set your foreground color to be black. Use the Gradient Tool to fill the Layer 1 with a "foreground to transparent" blend.

- Go to the Channels pallet, select the Blue channel, duplicate that channel. Rename this new channel "Dots."
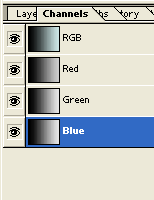
- Turn off all channels except Dots; make sure only the Dots channel is visible.
- Select Dots.
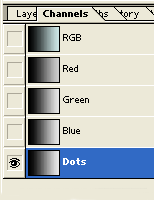
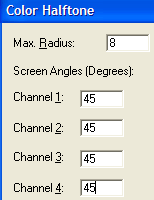
- Set a Color Halftone (Filter > Pixelate > Color Halftone...) using the following settings.
- Max Radius: 8 pixels
- Channel 1: 45
- Channel 2: 45
- Channel 3: 45
- Channel 4: 45
- The dots are made, but we're not done. We need to move the dots pattern from its channel over to a normal layer.
- Keep Dots selected. At the bottom of my Channels pallet is a small button with a dashed circle. It's labelled "Load channel as selection." Press that to select your dots pattern. (You can instead press-and-hold Control on your keyboard while you left-click the Dots channel.)
- Copy the selection (Edit > Copy).
- Make the RBG, Red, Green, and Blue channels visible again. Make the Dots channel invisible.
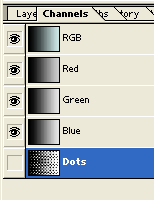
- Switch back to the Layers pallet. Create a new layer called Layer 2. Select that layer. Your dot-gradient selection should still be active.
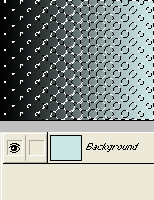
- Invert the selection (Select > Inverse).
- Fill the selection with black (Edit > Fill; choose black).
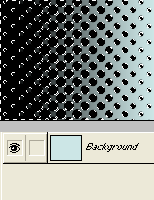
- Turn off the visibility of Layer 1 and edit or crop as desired.
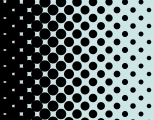
Now you have a layer with a dots-blend! If you trim just right, you could turn it into a tile-able pattern.
Because we planned ahead and used transparency, the background of the Photoshop file can be seen pretty nicely peeking out from behind the Layer 2 dots. An easy way to color the dots is invert the color to white, then Layer > Layer Style > Color Overlay, and finally pick the color you want for the dots.
Also, you can change the Color Halftone... details to anything you want. For example, 4 pixels is a tighter dot pattern while 16 pixels woudl be looser. You can change the angle from 45 to 60, 90, 83, or whatever, but just make sure all four numbers are the same as each other.
Share this page with family and friends…even complete strangers. It's up to you. Whatever floats your boat.
Click the icon below to select the method of sharing.
Comments
Read or leave comments for this entry


Hurm Partners